Okta SSO for Ansible Semaphore
Ansible Semaphore offers a user-friendly approach for transitioning an established Ansible project towards the adoption of CI/CD methodologies.
As of PR #1213, Semaphore extends its support beyond LDAP by incorporating OIDC as an additional identity protocol. Integrating Semaphore with Okta using OIDC is a straightforward process.
Okta Configuration
- Login to the Okta Admin portal.
-
Within the Applications section, create a new app integration.
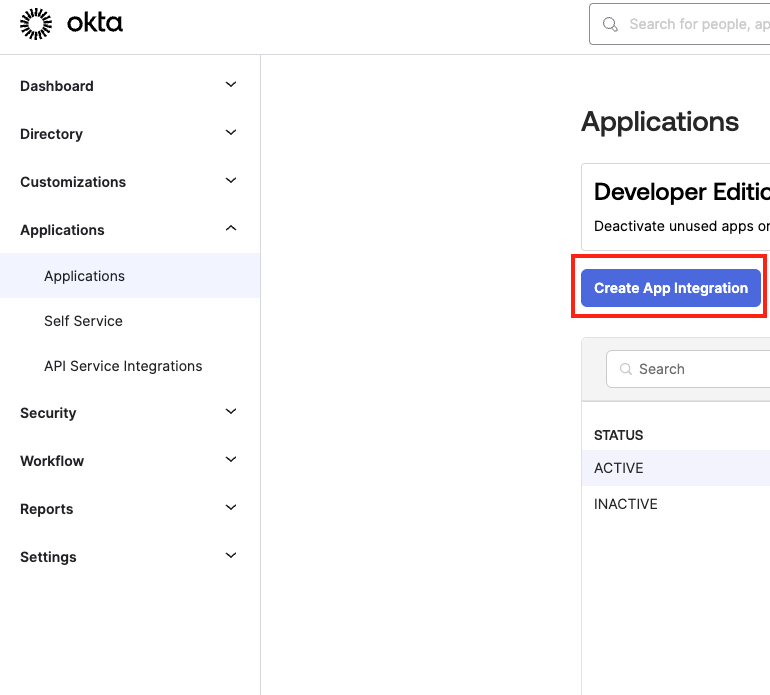
- Choose
OIDC - OpenID Connectfollowed byWeb Applicationfrom the available options. - On the configuration page:
- App integration name:
Ansible Semaphore - Grant Type:
Authorization Code - Sign-in redirect URIs:
<your_semaphore_http/s_address>/api/auth/oidc/okta/redirect. Example:https://semaphore.cloudnation.blog/api/auth/oidc/okta/redirect. (Semaphore is behind a reverse-proxy in this case.) - Sign-out redirect URIs: null
- Controlled Access: Skip group assignment for now
- App integration name:
- Save.
- Under the
Generaltab you will find theClient IDandClient Secrets. These values are required for the subsequent Semaphore configuration procedures.
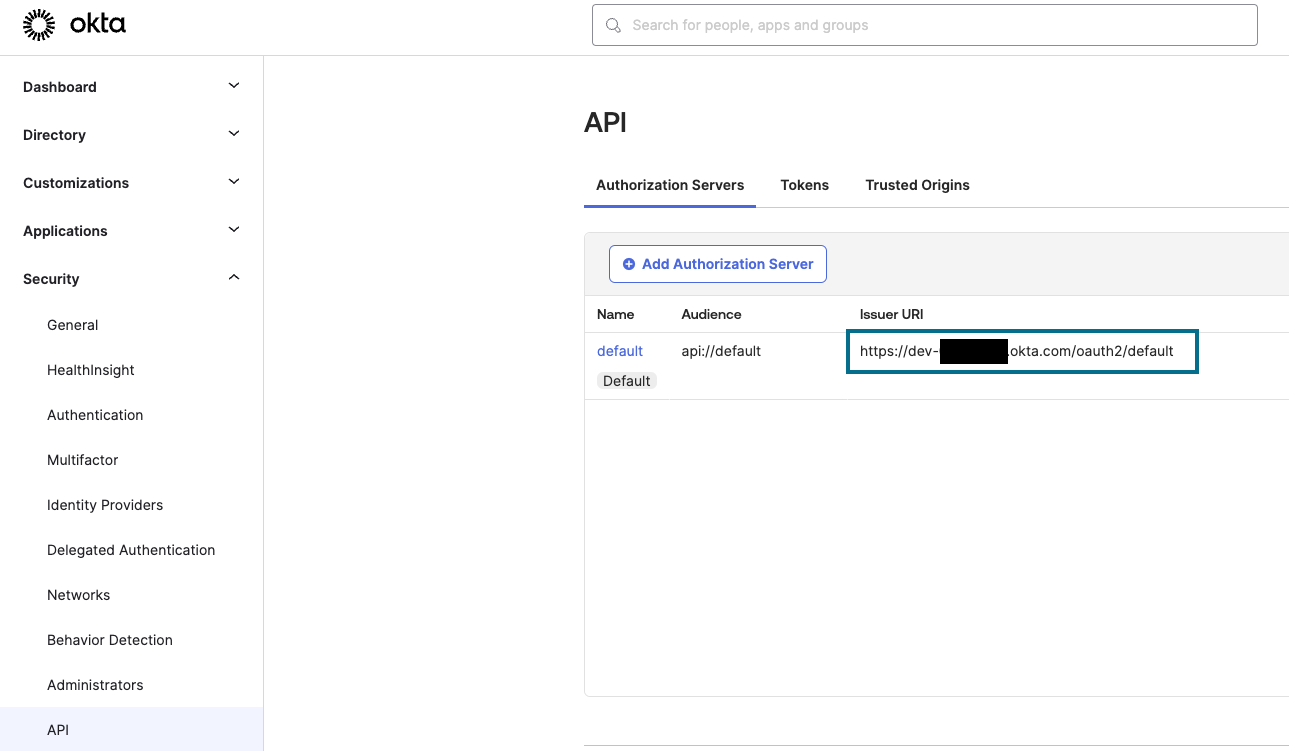
Semaphore requires the OIDC provider URL for Okta. To obtain this URL, navigate to Security > API > Authorization Server, note the Issuer URI for the default authorization server.
Semaphore Configuration
- Update the
oidc_providerskey inconfig.jsonas below:provider_url: Must match the unique Okta tenant URI as in the screenshot above.client_id: Client ID obtained from Step 6 of the Okta configuration.client_secret: Client Secret obtained from Step 6 of the Okta configuration.name_claim: By default, theusernameand thenameare both set to the same claim(attribute) ->preferred_username. This configuration will generate a Semaphore user with both the username and display name typically reflecting the user’s email.. To use the Okta display name as the display name on semaphore, this key can be set to use thenameattribute sent by Okta.
{ "oidc_providers": { "okta": { "display_name": "Sign in with Okta", "provider_url": "https://dev-xxxxx.okta.com/oauth2/default", "client_id": "0oaaor46qeG99JPDD5d7", "client_secret": "--rOEm_9Vy8bxZ7i2EwsjoWYEAhkS5wWJPyM7mKwuEdk6L8-YswpWxegka_pwNCL", "name_claim": "name" } } } - Restart Semaphore.
-
Browse to the Semaphore web page and it should now have a button to SIGN IN WITH OKTA.
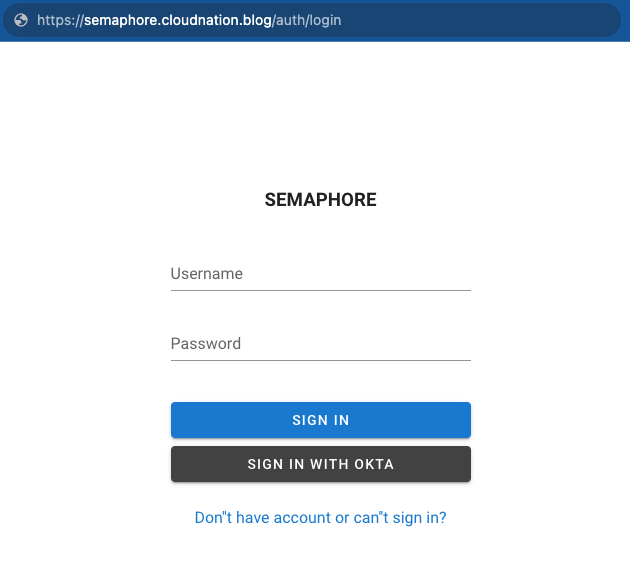
The sign-in process will re-direct to Okta and then back to Semaphore. Upon successful authentication, a new user will be created automatically for the validated username, if it does not already exist. Following user creation, an administrator can then assign the requisite permissions to the newly established user account.
Suggested Configuration Parameters
password_login_disable: Disable local user/password authentication. Only LDAP and OpenID. This can be useful to implement after federation is setup to enforce SSO/MFA.
non_admin_can_create_project: Set to false to block any new users from being able to create projects.
web_host: Set this to the user-facing URL of the web instance. Example: https://semaphore.cloudnation.blog.