Portainer - GUI Management Tool for Docker
Introduction
Portainer is a lightweight management UI for Docker. It allows most of the features of Docker to be performed through the graphical web interface while also adding additional functionality such as duplicating containers, User management/Authentication, access control, etc.
Installation
We will install portainer as a docker container on the same host we wish to manage with Docker. To make configurations easy to understand we will deploy the container using a docker compose file.
First, we will create a directory on our docker host to persist the container’s data.
mkdir -p /opt/portainer/portainer-data
Create a docker compose file for the portainer container:
vi /opt/portainer/docker-compose.yml
version: "2"
services:
  portainer:
    image: portainer/portainer
    container_name: portainer
    restart: always
    ports:
      - 8000:8000
      - 9000:9000
    networks:
      - portainernet
    volumes:
      - /opt/portainer/portainer_data:/data
      - /var/run/docker.sock:/var/run/docker.sock

networks:
  portainernet:
In the above compose file, we have exposed the ports required to run portainer, created a separate network for the container and mapped a persistent directory to the container’s /data directory where it will store all it’s data.
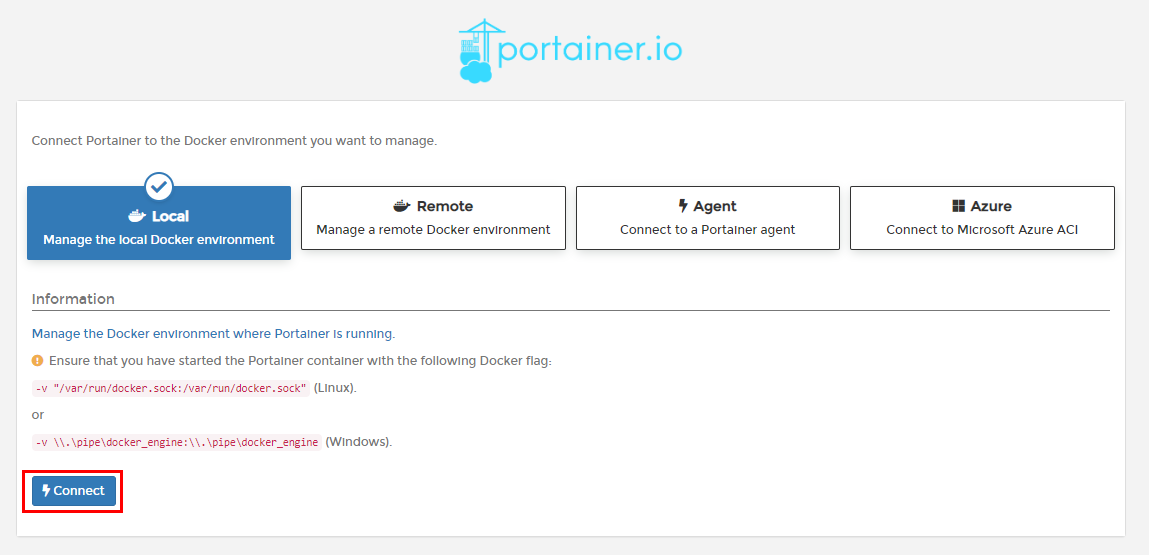
Also note that the container’s docker socket is mapped to the host’s docker socket. This is essential and an absolute must requirement for Portainer to be able to manage the local docker host. If the container does not have access to the host’s socket, the Docker API must be exposed over TCP to allow access.
Deploy the container using docker-compose in detached mode;
cd /opt/portainer ; docker-compose up -d
Configuration
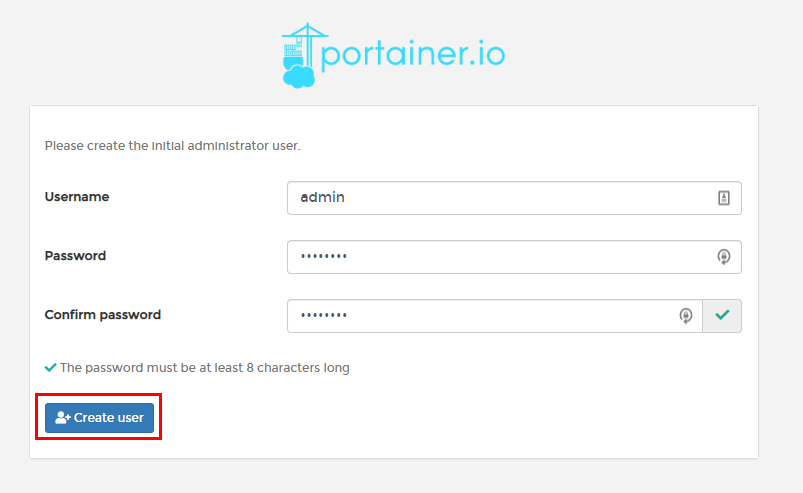
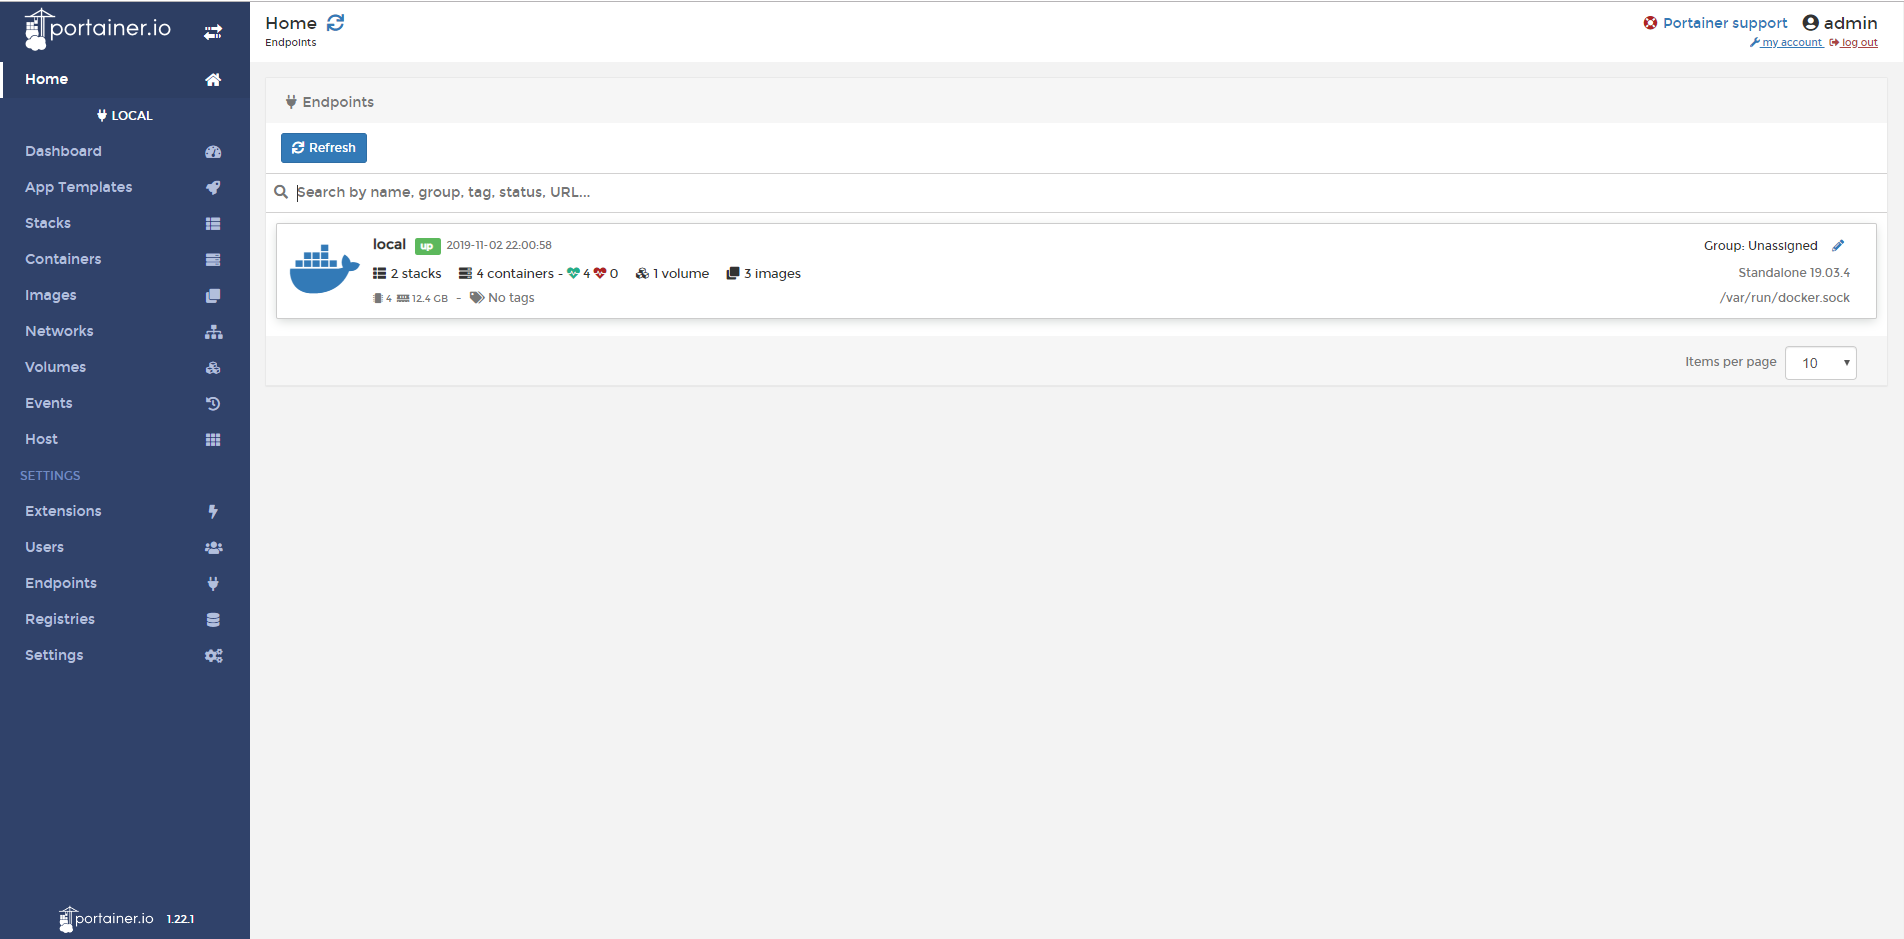
Portianer’s Web GUI runs on port 9000 by default, and since we had also mapped it to the same host port, the web interface can be accessed through the host’s socket address.
